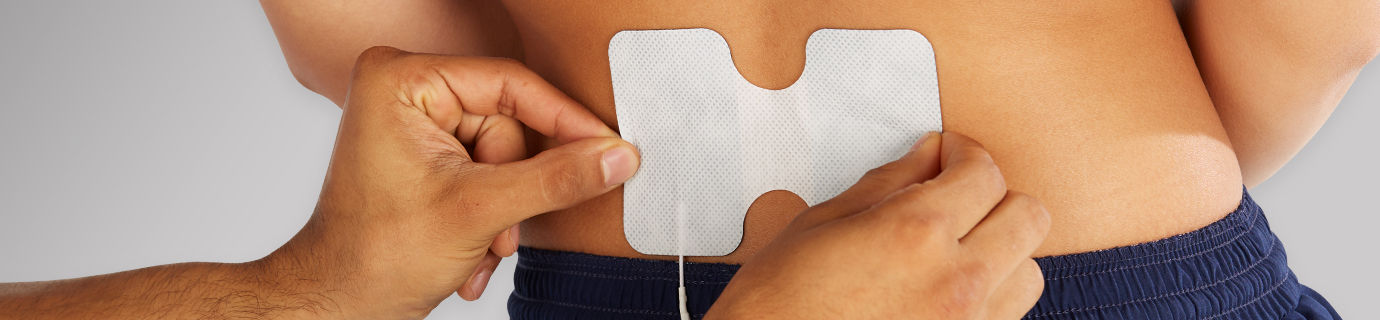
Educational Resources
Axelgaard is proud to offer free educational resources via our video series and our interactive visual guide. The guide is viewable both on desktop and mobile and all of our videos can be watched online or downloaded for offline viewing.
Interactive NMES Electrode Placement Guide
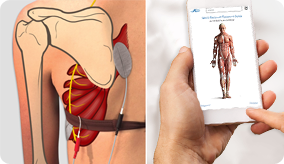
In collaboration with Dr. Lucinda Baker of the University of Southern California’s Division of Biokinesiology and Physical Therapy, Axelgaard’s Electrode Placement Guide is a free, interactive resource for electrode placement. This informative guide features 41 instructional videos, illustration-enhanced electrode placement photos, and relevant information on muscular and neurological anatomy.
OT Course on Electrical Stimulation
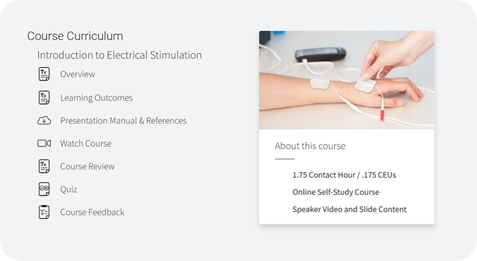
In collaboration with Salia Rehab, this course guides learners through the general considerations and specific applications and treatment techniques for electrotherapeutic interventions. Learners will review best practices for safe, effective, and efficient application of electrical stimulation modality treatments to a variety of clinical presentations. In addition, concepts associated with use of electrical stimulation in occupational performance will also be reviewed.
The online class is intended for medical professionals (e.g. OT/OTA, PT/PTA, Physicians, etc.) directly related to the rehabilitation of a patient or client.
NMES Electrode Placement Videos
We are pleased to sponsor the Electrode Placement and Functional Movement series presented by Dr. Lucinda Baker, Associate Professor at USC Division of Biokinesiology and Physical Therapy. These videos provide comprehensive information on the preparation and use of electrodes for effective neurostimulation treatment. All electrodes used in the video presentations are PALS® neurostimulation electrodes.
Individual chapters and the full DVD ISO file are available for free download alongside each video for offline viewing.
Chapter 3
Download Chapter
Download full DVD ISO
Motor point location for electrode placement. Electrode placement is critical to the success of the stimulation treatment program. In order to identify the best possible electrode placement the electrode itself may need to be moved multiple times. This is particularly true in the small muscles of the forearm and the lower leg. In order to find the best electrode placement the negative electrode may need to be moved; this can be facilitated by placing a wet sponge between the negative electrode and the patient. During the stimulation off cycle, the electrode can be slid over the patient's skin to allow assessment of a new location.
Be careful not to touch the patient as you are moving the electrode as you may become a part of the circuit and receive a low level of electrical current. When the best possible electrode placement has been identified, remove the sponge and place the electrode immediately on the patient's skin. You may want to mark this location for future use. Note in the video, the effect of small changes in the electrode configuration and the resultant stimulation effect: moving from a balanced wrist extension, to excessive ulnar deviation, to excessive radial deviation.